My Podcast Gear: recording, editing, and publishing
I’ve learned a lot from creating a podcast series: from asking good questions and improving my spoken delivery; to sales, marketing, and audio engineering.
As much as podcasts are a hot trend right now and plenty of people are jumping on podcasting in part because of that, I do genuinely believe there are many skills that can be built by getting involved in podcasting. So much so, I’d like to see every school include podcasts on the curriculum.
One of my earlier learning curves in starting my podcast was figuring out what equipment I needed, especially as I was working on tight a budget (this was a side project after all, and I’m a lean startup kinda guy
After a couple of early recordings using just my laptop’s mic (surprisingly passable, but only just), I invested in a more robust setup which I still use today.
My main point of reference for deciding on my podcast gear ended up being this Kit list from Tim Ferriss. I didn’t buy the whole lot from this selection but it definitely helped me figure out how high-end I needed to go to get the results I wanted.
After being asked a few times of late what I use and how I got set up, here’s a quick post covering my podcast gear, as well as some background on how I edit and publish.
I’ll put together a follow-up on distribution and marketing too.
And if you’ve got any questions on any of this feel free to drop me a line!
Here we go…
Recording: In-Person

Despite the additional scheduling and travel time, I definitely prefer in-person interviews, particularly as one of my biggest strengths is my intuition. I find I get better rapport, connection, and end results by physically being in the room with my podcast guests.
A challenge that comes with this can be having a suitable space to record episodes. I found this was a real headache, and in the early days a disproportionate amount of my time was going into hustling meeting rooms at co-work spaces (not always good acoustics, and often lots of background noise) or trying to get big discounts on proper recording studios (hard, and comes with loads of gear I don’t really need).
This issue has eased somewhat as:
a) lots more workspaces, hotels and cafes now have their own podcast studios (and many will be happy to accommodate guests as it’s good for business); and
b) in my case I’m lucky enough to live close to the Anchor podcast studio in Flatiron in NYC which is now my go-to for my in-person sessions.
But back when I started, if I couldn’t secure a meeting room somewhere I’d have to use my apartment. It’s a little odd inviting a stranger to
If I’m at Anchor I’ll use their gear (which is extremely good – the microphone quality is particularly noticeable; it makes my dulcet tones sound properly convincing), and then grab the audio file from the app.
If I’m out in the field, say visiting a guest’s office, I’ll carry this bunch of stuff with me in a little red and white tote bag (other bags are available), as well as spare AA batteries and my laptop:
Zoom H5 Portable Recorder: This does 4 tracks but only with 2 XLR mics (see below). In hindsight, I would have spent the extra $70 on the H6 model as that allows 4 mics to be plugged in, which gives a much better result when you have multiple guests. The in-built mic is ok for field recordings but it’s not up to doing a proper interview style podcast. On both the H5 and H6, the SD card that comes with it stores enough for a good handful of long-form recordings and getting the data to your computer is pretty easy (WAV files).
When I’m recording I’ll check that the volume levels are coming in around -10dB. It’s easy to make smalls changes to this in the edit, but I want to make sure the levels are sitting around this point so the recording level sounds good (junk in, junk out as they say). The Zoom has some nice volume dials so I can tweak this as I go if needed.
Also, pro tip: Use fresh or recharged batteries each time you do a recording. The battery meter is ok but not hugely accurate, and the USB charger doesn’t always work (and batteries means less cabling and other gear to lug around). I’ve been caught short a few times with the recorder switching off midway through an episode. It’s embarrassing, frustrating, means way more editing, and also means you end up constantly glancing at the battery levels during every recording like a paranoid mad person. Not cool.
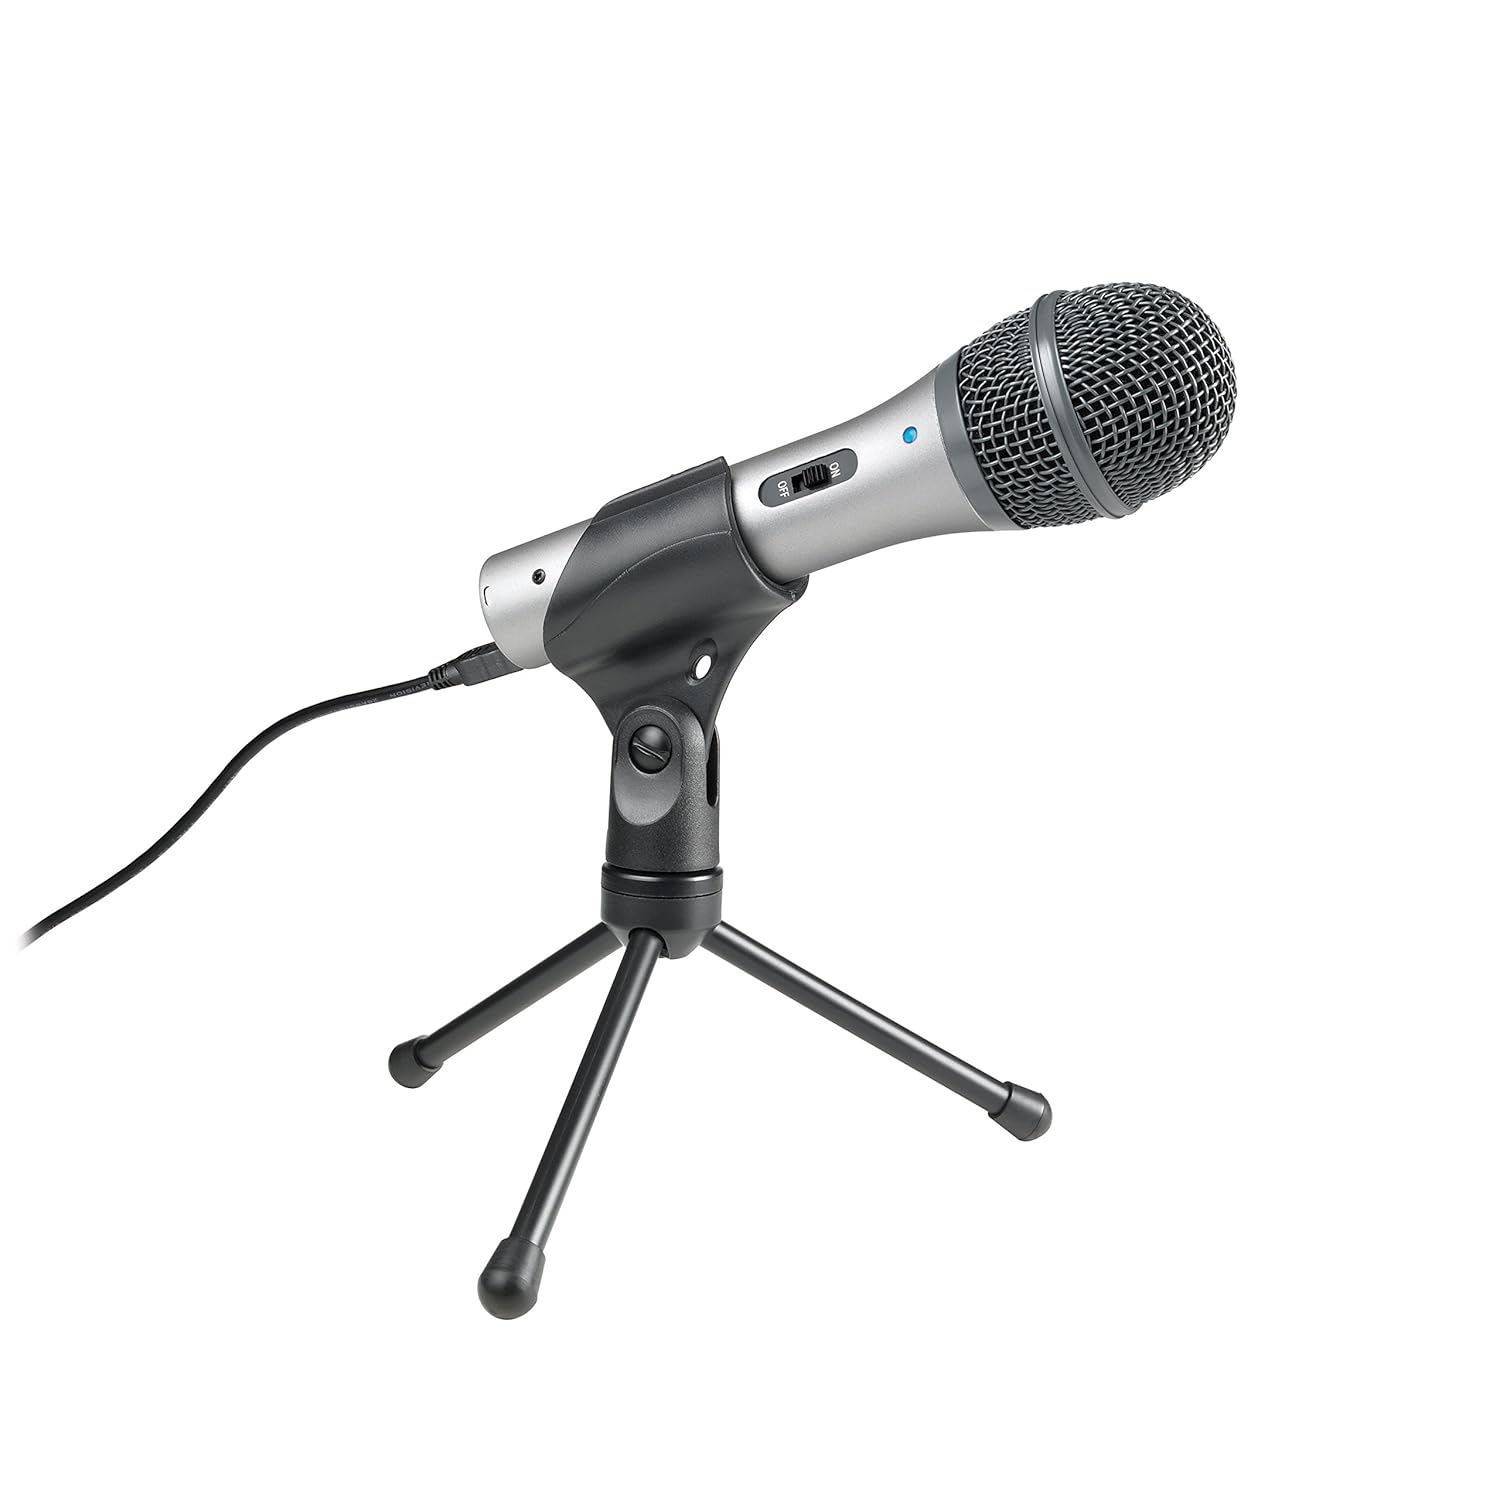
Audio Technica ATR2100-USB dynamic microphone (x2): These are lightweight, look pretty sleek and do a nice job on most recordings. From doing recent recordings with higher end mics I’ve noticed the range on them is not the best, and they can pop a bit too easily on the pronunciation of hard ‘p’ words and the like, but for doing recordings on the move these work nicely. Definitely get a windshield (the fuzzy foam things that cover the main microphone area) to help reduce the pops.
As these mics are USB, they’re great for recording episode intros, sponsor messages and all that good stuff. Just plug them into your computer, change the input device in your settings and away you go.
The Audio Technica mics also come with tabletop mic stands. They’re pretty decent; they’re really light and fold down well so are great for being on the move. The feet are a little small and that’s probably why the stands can be very sensitive to table noise (i.e. guests tapping the table when they make a point). Usually, you can easily edit this out (or not worry about it), and prefer to keep the kit bag light so these stands have worked well for me. If you’ve got budget it’s worth getting some higher-grade stands, but for being on the move I’ve found these are more than fine.
The Audio Technica mic is also well-priced – you should be able to pick these up for about $60 each. If you have a bit of extra budget I’ve recommend the classic Shure SM-58 – used at music festivals and nightclubs around the world, and also great for a podcast master of ceremonies too 🙂
XLR cables (x2): I’d recommend getting a good solid set of XLR cables to connect your mics to the recorder. It’s easy to scrimp on the less glamorous kit like this, but a loose connection and you’re in a pickle. My cables are 10 feet – size doesn’t necessarily matter too much (ahem), but anything less than 3 feet and you’ll lose the flexibility you’ll probably need in certain room setups.
Recording: Phone Interviews
If I’m doing interviews remotely, which is happening more and more, my setup is pretty simple.
I’ll use one of the Audio Technica mics and a stand, and plug the USB cable straight into my computer. I’d probably get slightly better sound quality using the XLR mic, but I don’t want to spend on any outboard gear, nor do I want the hassle of rigging up my H5 recorder every time.
Other than the mic, other key components for phone interviews are:
Skype: I don’t love Skype and tend to gravitate towards Zoom, Slack or WhatsApp these days, but because of its good recording add-ons (see below) I try to use it wherever possible
eCamm Recorder: This does video recording too but as I’m a podcaster I just use the audio feature. This costs $40, but after trying various other solutions I came back to this because of its ease of use, split tracks (you and your interviewee’s audio can be exported as separate files for easy editing), and low disk space needed. I just hit the record button here when the Skype calls starts, and when I’m done I export the audio files as MP3 or WAV onto my desktop for editing.
Pro Tip: eCamm can often set the default recording levels quite low so remember to check and adjust the levels when you start recording. You can make some fixes in editing, but it’s better to get the source audio as good as you can.
Editing

Whether I’m recording in-person or on the phone, when I’ve got my audio files ready on my computer, I’ll bring them into Audacity. This is a free, open source program – it definitely has its limits and some occasionally frustrating UI, but I’ve found it gets the job done.
I’ve already got my music and season intro and outros set up in a template Audacity file, so I’ll make a copy of that as a new project and then import the episode files.
When I’m editing I’ll start by applying a -8dB limiter to the episode files (each microphone/audio file being on a separate track in Audacity), and perhaps a Noise Reduction filter if the room was a bit noisy. I do this most of the time – it’s surprising how much background noise like the hum of air conditioning units gets picked up.
It’s worth noting that Audacity projects are big – mine each get to 1-1.5GB, so across a season I’ll have 20GB of hard disk space being used. This has resulted in annoying shifts to external hard drives, Dropbox and other fixes when I inevitably run out of disk space.
There are a few cloud-based editing and publishing solutions available to help you with editing; I’ve tried a couple but haven’t found the functionality advanced enough for the level of precision I want. I don’t need anything like Pro Tools but also I want more control than just dragging and dropping the raw file in, adding a
Pro tip: Do not underestimate the time or effort needed for editing. You may want to consider outsourcing an element of this. I still do it all myself as there often nuances to tweak that only I will spot, and perhaps also because I just love to inflict pain on myself 🙂 To edit a 45 minute episode, add filters and limiters, record an intro recording, tweak the intro music timing and an export an MP3 file I’ll usually spend 2-3 hours. I also much prefer doing this on my large iMac screen at home as using Audacity on my 13″ Macbook can be really fiddly.
All this being said, I’m definitely not a professional audio editor – my episodes come out pretty well most of the time but I’m very aware there’s some variability. On the one hand I’ve noticed how tolerant people are of podcast audio quality (or lack of), but on the other you can really tell the difference between a top-end production and something that’s been made on a phone. I’d suggest getting it as good as you can given your resources.
Publishing

For the first 14 (!) episodes of my podcast I would handwrite my XML file, upload that and the MP3 file to my AWS hosting account (via FTP) and then hope the feed validated, before checking it across the various platforms.
This was a really bad way of doing it. I strongly recommend avoiding this method. Did I say I strongly advise against it? Don’t do it. I’m not even going to talk about the pain of shifting the feed away from AWS.
Luckily, there are now plenty of easy, intuitive, and free options for hosting your podcast. For the last few months, I’ve been using Anchor. If like me, you’re bringing in a podcast from another provider there are a few more steps to take, but if you’re starting fresh it’s very quick and straightforward to get going.
I’d suggest setting up your podcast with as many providers as possible (i.e. Apple, Spotify, Stitcher, Overcast, Breaker, etc) to increase your reach, and then using one distribution/hosting partner, like Anchor. That partner should be able to seed each episode to all those platforms so your podcast will show up everywhere simultaneously.
I publish each Monday (usually scheduling the episode a day or two in advance so I don’t need to pull a Sunday all-nighter to hit ‘publish’), and work hard to keep that cadence.
There are a bunch of other things I do around the publishing side, but these probably fall into distribution and marketing tactics, so I’ll save these for another post.
Summary of my stack

So that’s how I got my podcast off the ground and record each show today.
My gear costs were about $500 in total, 50% of which was for the recorder. So far I haven’t spent anything on repairs or upgrades since buying my gear around 15 months ago.
As for time:
- Approaching guests and scheduling a recording time can be anything from 30 minutes to 4 hours.
- Episode preparation is a couple of hours (always worth it, you can never be too prepared and you also end up learning all sorts of interesting stuff).
- Recording time is about an hour per episode, sometimes closer to two.
- Editing is around 2 hours, and publishing 15-30 mins
In total that’s between 5 and 10 hours to get each episode booked, recorded and published.
I often hear people say that the same if not more time should be spent on the marketing side. Take that into account, and as a one-person podcasting studio, you should expect to put 10-15 hours into each episode you produce.
That’s a commitment, and it’s not for everyone.
However, don’t be put off if you don’t have the time or the money to do it this way.
As I’ve mentioned a few times in this post, there are now more options to get a podcast created and distributed than ever before.
It’s not impossible to create, record, edit and publish something worthwhile in under 30 minutes.
While high-end gear or a background as a professional radio producer will undoubtedly help you as a podcaster, there are only really two things you need:
Interesting stories to tell, and the passion to go out and share them.
Good luck on your podcasting journey, whichever way you choose to go. I’d love to hear about the stories you’re telling.
No spam, no sharing to third party. Only you and me.




Member discussion